How to Fix a Hole in Drywall: A Step-by-Step Guide
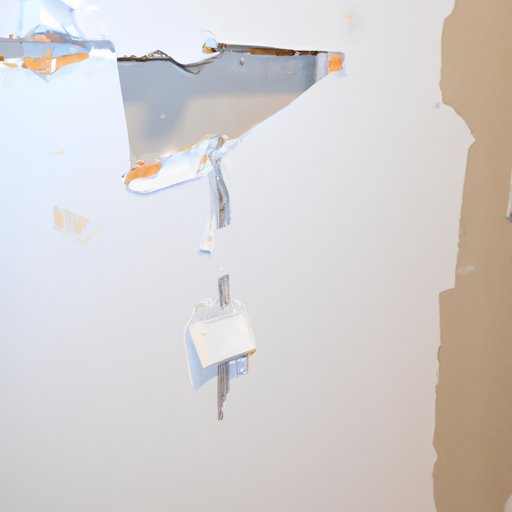
For many homeowners, tackling household repairs can be a daunting task. One common repair that can be particularly intimidating is fixing a hole in drywall. Whether it’s a small dent or a larger hole, it’s important to address the issue quickly to prevent further damage to the structure of your home. In this article, we will provide a comprehensive guide on how to fix a hole in drywall, including quick fixes for small holes, advanced techniques for larger holes, supplies and materials you’ll need, and common mistakes to avoid.
Step-by-Step Guide
Before you begin, it’s essential to gather the necessary tools and materials for the job. This includes items such as drywall mud, a putty knife, sandpaper, and a drywall saw. Once you have everything you need, follow these steps:
1. Prepare the Area: If the hole is small, use a putty knife to remove any loose debris around the edges of the hole. For larger holes, use a drywall saw to cut out the damaged material in a square or rectangular shape, removing any damaged drywall or insulation.
2. Cut Out Damaged Material: Once you have removed the damaged material, make sure the opening is square or rectangular. This will make it easier to patch up the hole. If necessary, trim back any protruding drywall tape or rough edges.
3. Install a Patch: Cut a piece of drywall to match the size of the hole and place it over the opening. Use a putty knife to apply a thin layer of drywall mud to the patch, smoothing it out to create an even surface.
4. Finish the Surface: After the mud has dried, use sandpaper to smooth out any rough edges or bumps. Apply additional coats of drywall mud as needed, sanding in between each coat, until the surface is smooth and level with the surrounding wall.
Quick Fixes for Small Holes
If you’re dealing with small holes, don’t worry! There are simple and quick solutions that can save you time and frustration. Here are a few ideas:
1. Spackling: Use a putty knife to apply spackling paste to the hole, smoothing it out until it’s level with the surrounding wall. Once it’s dry, sand it down and paint over it to match the wall.
2. Drywall Tape: Cover small holes with drywall tape, pressing it firmly to adhere it to the wall. Use a putty knife to apply drywall mud over the tape, smoothing it out until it’s flush with the wall. After it dries, sand the surface and paint over it.
Advanced Techniques
For larger holes in drywall, more advanced techniques are necessary to fix the issue. Here are a few steps to follow:
1. Cut Out and Replace Damaged Sections: For larger holes, it may be necessary to cut out the damaged section and replace it with a new piece of drywall. Measure the opening and cut a new piece of drywall to fit. Hold it up to the opening and trace around the edges. Use a drywall saw to cut the opening, being careful not to damage the surrounding drywall. Secure the new piece of drywall in place with screws, and apply joint compound over the seams.
2. Use a Patch Kit: Another option for larger holes is to use a drywall patch kit. These kits come with everything you need to repair the hole, including a self-adhesive patch, joint compound, and a putty knife. Simply follow the instructions included in the kit to repair the hole.
Supplies and Materials
To successfully fix a hole in drywall, it’s important to have the right supplies and materials. Here’s a list of what you’ll need:
Drywall: You’ll need a piece of drywall to cover the hole.
Drywall Saw: A drywall saw will allow you to cut out any damaged material.
Putty Knife: You’ll need a putty knife to apply and smooth out drywall mud and spackling.
Drywall Mud: This is used to fill in holes and joints in drywall.
Sandpaper: Sandpaper is used to smooth out rough edges and surfaces.
Common Mistakes to Avoid
As with any DIY project, there are common mistakes that can be made when fixing holes in drywall. Here are some pitfalls to avoid:
1. Not Sanding Enough: If you don’t sand enough in between coats of drywall mud, the surface will be uneven and bumpy.
2. Using Too Much Mud: Applying too much drywall mud will result in a lumpy surface that’s difficult to sand down.
3. Rushing: Take your time with each step to ensure a professional-looking finish. Rushing can lead to mistakes and imperfections.
Conclusion
Fixing a hole in drywall may seem like a daunting task, but with the right tools, materials, and techniques, it can be a straightforward DIY project. Whether it’s a small hole or a larger opening, follow these steps to repair the area and restore your wall to its original condition. With a little patience and effort, you can achieve a professional-looking result and save yourself the cost of hiring a professional.
