I. Introduction
Are you one of the many Xbox One controller owners who have encountered issues with their device? If so, you may be interested in learning how to take your controller apart to perform some DIY repairs. Knowing how to take your Xbox One controller apart can save you a lot of money and frustration in the long run, especially if you encounter issues with your controller on a frequent basis. In this article, we’ll provide you with a step-by-step guide on how to take apart your Xbox One controller safely and efficiently.
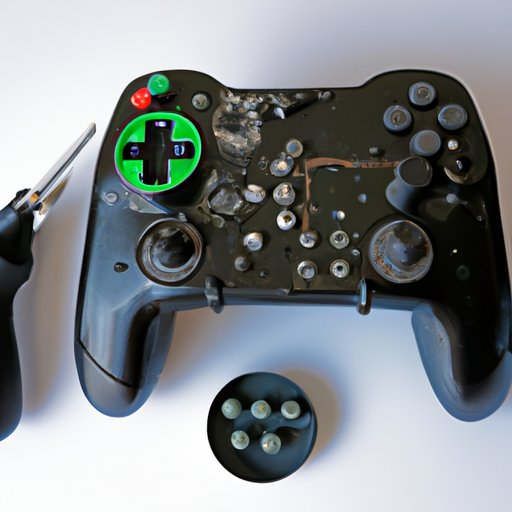
II. Step-by-Step Guide with Images
Before you begin, it’s important to note that working on electronic devices can be dangerous. Make sure you take the necessary safety precautions and always handle your controller with care. Follow these steps:
- Use a small Phillips screwdriver to remove the five screws at the back of the controller.
- Gently pry the two halves of the controller casing apart with your fingers or a plastic pry tool.
- Disconnect the battery from the controller’s motherboard by gently pulling the battery connector upwards.
- Remove the two screws holding the circuit board in place.
- Gently lift the circuit board out of the casing, being careful not to damage any of the delicate components.
- Remove the remaining screws that hold the controller’s trigger assembly in place, and lift the assembly out of the casing.
- Disconnect the vibration feedback wires from the trigger assembly and remove it from the casing.
- Clean any visible dirt or debris from the controller parts before reassembling the device.
It’s important to take your time when performing these steps to avoid causing damage to any of the internal components.
III. Video Tutorial
If you’d like to see the process of taking apart an Xbox One controller in action, check out this video tutorial: https://www.youtube.com/watch?v=Ne0Agb6elwM. This video provides a step-by-step guide with visual aids to help even the most novice DIYer take apart their Xbox One controller.
IV. Tool List
Before beginning the process of taking apart your Xbox One controller, make sure you have all the necessary tools and equipment. Here’s what you’ll need:
- Small Phillips screwdriver
- Plastic pry tool (optional)
- Precision tweezers
- Soldering iron (if you encounter any electrical issues)
Having the right tools ensures that you can safely and efficiently take your controller apart with minimal complications.
V. Safety Precautions
As mentioned before, working on electronic devices can be hazardous. There are several safety precautions that you should take when working on your Xbox One controller:
- Wear protective gloves to prevent electrocution.
- Disconnect power sources before opening the device.
- Handle delicate parts gently.
- Properly store your tools after use to avoid injuring yourself or others.
These safety precautions should always be followed to prevent any potential hazards.
VI. Troubleshooting Tips
If you encounter problems taking your Xbox One controller apart, there are a couple of tips that may help you:
- If you encounter stripped screws, use a rubber band or a small piece of cloth to provide extra grip when unscrewing.
- If you can’t reach certain parts of the controller, try using a longer screwdriver to reach difficult spots.
If you still encounter any issues, you can always seek out professional repair services or local DIY workshops to help you resolve the problem.
VII. Delivery Options
If you’re still unsure about taking your Xbox One controller apart on your own, there are several options you can consider:
- Seek out a professional repair service to take apart and repair your controller
- Community-led workshops where you can learn how to fix Xbox One controllers
If you choose to seek professional repair services, make sure you research the service providers and read reviews before entrusting them with your device.
VIII. Conclusion
Taking apart an Xbox One controller can seem like a daunting task, but with the right tools and a bit of caution, it’s a manageable DIY project that can save you time and money in the long run. We’ve provided you with a step-by-step guide, safety precautions, and troubleshooting tips to help make the process as smooth as possible. Remember to handle your controller with care, and when in doubt, seek out a professional repair service.
By following this guide, you can fix your Xbox One controller like a pro and get back to gaming in no time.